Key Takeaways
-
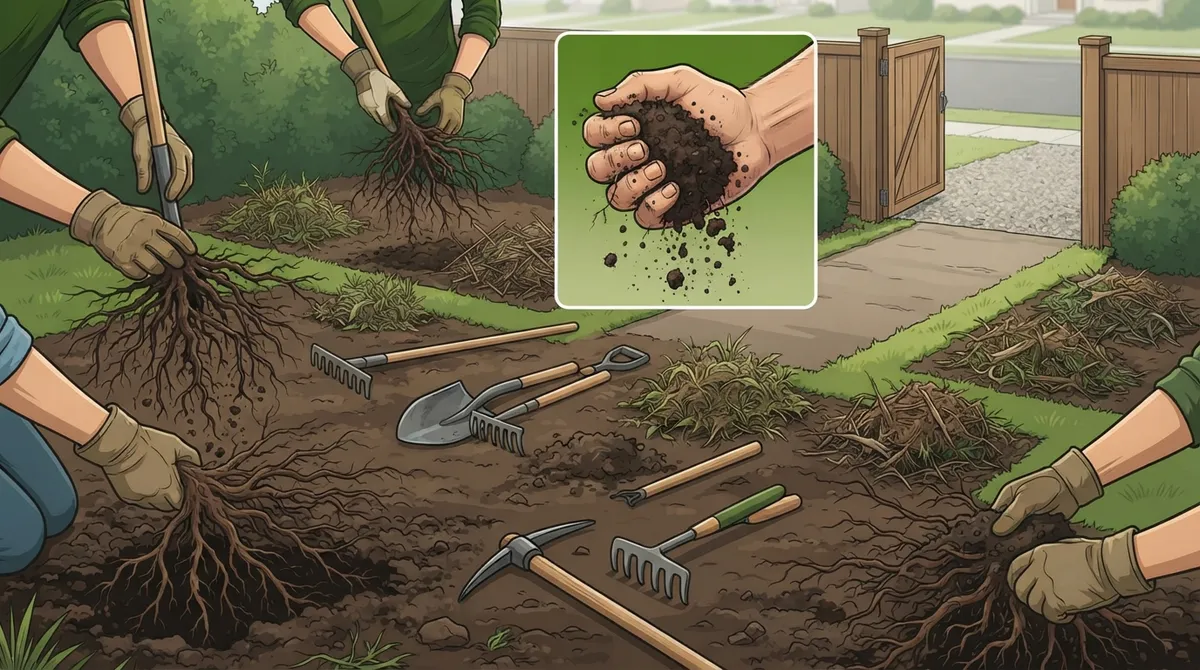
Remove old sod and weeds completely by pulling roots, tilling soil, and raking debris—skipping this leads to weeds resurfacing through new sod within weeks.
-
Conduct a full yard walkthrough before starting cleanup to identify irrigation lines, dead limbs, uneven ground, and hazards, which sets the foundation for proper preparation.
-
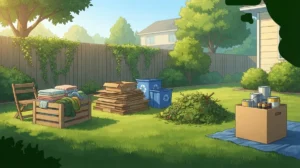
Sort debris into categories (yard waste, junk, recyclables, hazardous materials) as you go rather than creating one pile, streamlining disposal and reducing crew delays.
-
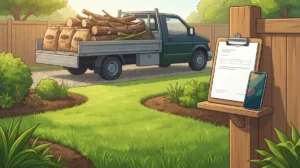
Clear all crew access points including gates, driveways, and side yards, and designate a staging area—blocked access can stall or stop landscaping projects entirely.
-
Test soil moisture by squeezing a handful; if it crumbles it's ready to work; if clumped like dough, wait days before starting to prevent compaction and poor planting conditions.
-
Amend soil with 1-2 inches of organic matter and compost in the top 6-12 inches before planting, as poor soil quality undermines results regardless of plant selection.
So you’re finally ready to transform your yard into something you’ll love. Maybe you’re picturing fresh sod, a beautiful new flower bed, or a clean slate for a whole new design. But here’s the thing: even the best landscaping crew can’t work magic on a yard that’s cluttered, messy, or unprepared. Knowing how to prepare yard for landscaping properly can save you time, money, and a whole lot of headaches. And trust us, we’ve seen it all in our 15+ years serving Brandon, Florida and the surrounding communities.
Whether you’re a homeowner getting ready for a big yard makeover, a real estate agent staging a property, or a contractor wrapping up a build site, proper prep work makes everything smoother. Skip a step, and you might end up with delays, extra fees, or damaged sprinkler lines. Let’s walk through the mistakes folks make most often, so you can avoid them and get your yard landscaping-ready without the stress.
Why Yard Prep Matters More Than You Think
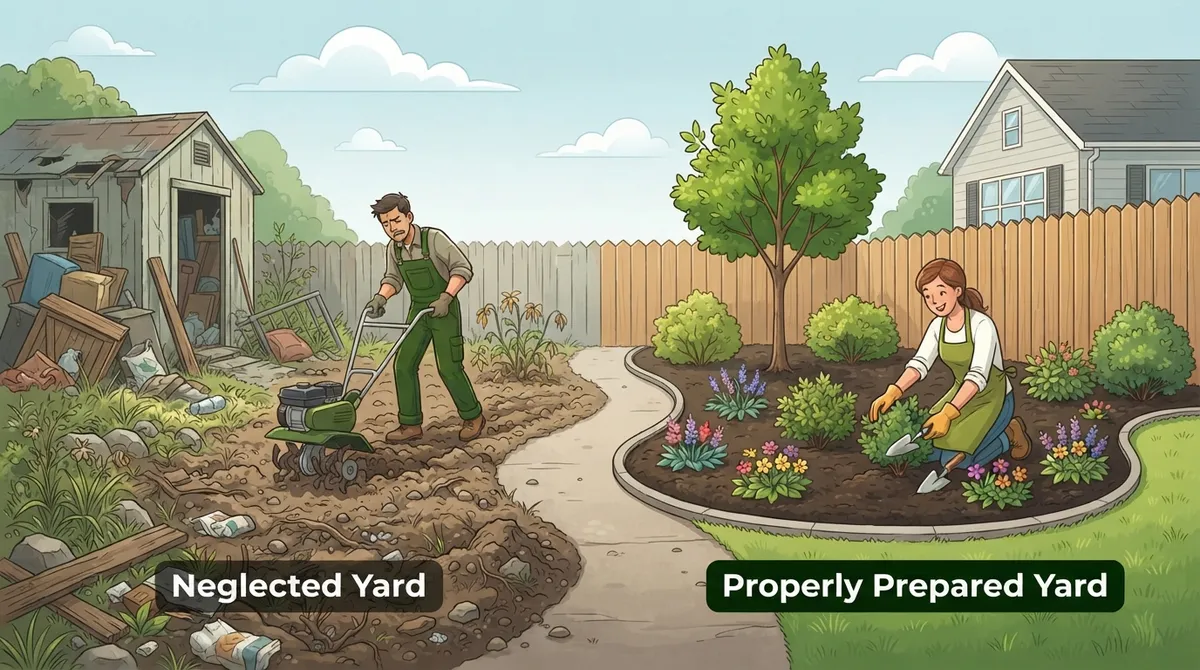
A lot of people assume landscaping crews just show up and start working. In reality, a messy or cluttered yard slows everything down. Crews need clear access, safe conditions, and an organized space to do their best work.
Good prep also protects your wallet. When a crew has to spend hours hauling away junk or working around obstacles, that eats into time that should be spent on the actual landscaping. At Wayne & Sons Landscaping & Junk Removal, we always recommend a little upfront effort so your project stays on schedule and on budget.
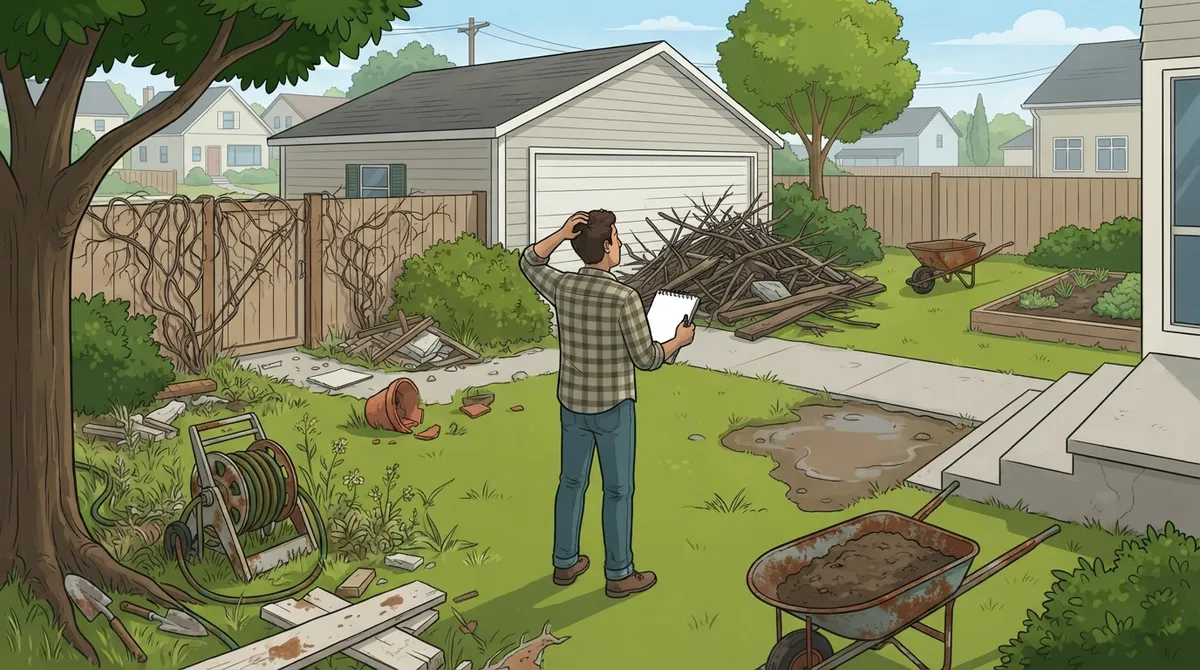
Mistake 1: Skipping the Full Yard Walkthrough
Too many homeowners jump straight into cleanup without a plan. Walk your entire yard first. Look at what needs to stay, what needs to go, and where the trouble spots are.
- Note any low-hanging branches or dead limbs
- Check for hidden holes, stumps, or uneven ground
- Identify irrigation lines and sprinkler heads
- Mark delicate plants you want to protect
- Look for hazards like broken glass or old nails
This simple walkthrough sets the tone for everything else. It’s the foundation of learning how to prepare yard for landscaping the right way.
Mistake 2: Not Sorting Debris Into Categories
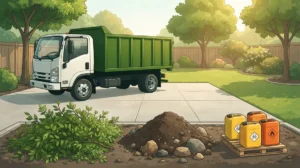
Dumping everything into one giant pile creates more work later. Instead, sort debris as you go.
| Debris Type | Examples | Disposal Method |
|---|---|---|
| Yard waste | Leaves, grass clippings, small branches | Compost or green waste pickup |
| Bulky junk | Old furniture, broken fencing, appliances | Professional junk removal |
| Recyclables | Metal scraps, plastic pots | Local recycling center |
| Restricted materials | Paint cans, chemicals, batteries | Hazardous waste facility |
If your yard has years of accumulated clutter, our junk removal in Brandon team can help sort and haul it all away quickly.
Mistake 3: Blocking Crew Access
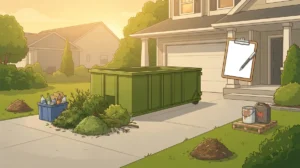
Landscaping equipment needs room to move. If gates are locked, driveways are blocked, or side yards are cluttered, your project stalls before it even begins.
- Unlock and prop open all gates the crew will use
- Move cars out of the driveway on prep day
- Clear a path through side yards
- Designate a staging area for tools and materials
- Let neighbors know if shared access is needed
Clear access isn’t just convenient. It’s often required for larger jobs like sod installation or hardscaping projects.
Mistake 4: Leaving Organic Debris Behind
Leaves, twigs, weeds, and loose rocks might seem harmless, but they interfere with grading and planting. Crews need a clean surface to work with.
- Rake and bag loose leaves
- Pull weeds by the root when possible
- Remove small rocks that could damage mowing equipment
- Clear twigs and fallen branches
For bigger branches and limbs, cut them into pieces no longer than 4 feet. This makes bundling and hauling much easier for everyone involved.
Mistake 5: Ignoring Section-by-Section Cleanup
Trying to tackle an entire overgrown yard in one shot is overwhelming. Break the job into sections instead.
- Divide your yard into manageable zones
- Clear one section fully before moving to the next
- Pile debris by type within each section
- Haul or schedule pickup before starting the next zone
This method works especially well for larger properties or homes that haven’t seen yard work in a while. It’s also a smart approach for storm debris removal in Brandon after severe weather.
Mistake 6: Failing to Protect Existing Features
Not everything in your yard needs to go. Irrigation lines, mature trees, and flower beds often need to stay put and stay safe.
- Flag irrigation heads with bright markers
- Wrap trunks of young trees to prevent scarring
- Rope off delicate flower beds
- Mark buried utility lines before digging
A quick call to your utility company before any digging is always a smart move. Damaging a line is expensive and avoidable.
Mistake 7: Removing Weeds and Sod Incorrectly
New sod, mulch, or plantings won’t take root well if old weeds and grass are still lingering underneath. Proper removal matters.
- Cut sod into strips for easier removal
- Pull weeds including the root system
- Till the soil to loosen compacted areas
- Rake out remaining plant debris
Skipping this step often leads to weeds popping back up through new sod within weeks. It’s a common frustration we hear about from homeowners who tried the DIY route first.
Mistake 8: Overlooking Soil Quality
Great landscaping starts below the surface. Poor soil means poor results, no matter how nice your new plants look on day one.
- Work compost into the top 6 to 12 inches of soil
- Add a 1 to 2 inch layer of organic matter to new beds
- Test soil pH if plants have struggled before
- Break up any compacted or clay-heavy areas
Healthy soil gives roots room to grow strong. It’s one of the most overlooked parts of how to prepare yard for landscaping successfully.
Mistake 9: Working Soil at the Wrong Moisture Level
Timing matters more than people realize. Wet, saturated soil compacts easily and makes for poor planting conditions.
A simple test works well here. Grab a handful of soil and squeeze it. If it crumbles apart, you’re good to go. If it stays clumped together like dough, wait a few more days before starting work.
Mistake 10: Not Checking Sunlight Conditions
Before planting new flower beds or a vegetable garden, think about sunlight. Most plants need at least 6 hours of full sun daily to thrive.
- Observe your yard at different times of day
- Note shady spots caused by trees or structures
- Choose plant locations based on sun exposure
- Adjust bed placement if shade is unavoidable
Skipping this step often leads to disappointing results a few months down the road, even with perfect soil prep.
Mistake 11: Handling Bulky Junk Removal Yourself
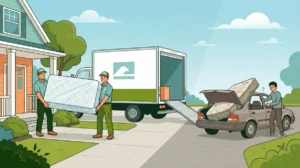
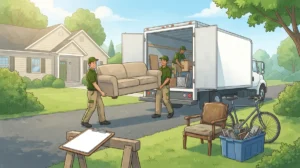
Old furniture, broken sheds, rusted swing sets, and construction debris are common yard obstacles. Hauling these yourself can be dangerous and time-consuming.
| Task | DIY Challenge | Professional Advantage |
|---|---|---|
| Heavy furniture removal | Risk of injury, no proper equipment | Safe lifting, proper trucks |
| Old appliance disposal | Disposal rules vary by location | Knows local regulations |
| Renovation debris | Multiple trips required | One trip, full haul-away |
| Storm debris | Sharp, unstable materials | Trained safety handling |
Our furniture removal in Brandon and junk hauling in Brandon services take this burden off your plate completely. Or you can always contact us for a fast estimate.
Mistake 12: Forgetting About Tree and Hedge Overgrowth
Overgrown trees, hedges, and palms can block crew access and hide problem areas underneath. Trimming before landscaping begins makes a huge difference.
- Trim back overgrown hedges along walkways
- Remove dead or hanging tree limbs
- Schedule palm tree maintenance if fronds are overgrown
- Clear low branches blocking equipment paths
Services like palm tree trimming, hedge care in Brandon, and shrub care in Brandon are often part of a complete yard prep plan. If a tree branch has already come down, our down tree removal in Brandon crew can clear it fast and safely.
Mistake 13: Trying to DIY the Entire Project Alone
We get it. DIY yard prep feels like it’ll save money. But for larger properties, renovation sites, or overgrown yards, the time and physical demand add up fast.
- Hauling heavy debris without proper equipment risks injury
- Sorting hazardous materials requires local knowledge
- Grading and soil work needs the right tools
- Missed steps often cause landscaping delays later
Whether you’re a busy homeowner, a property manager juggling multiple units, or a senior downsizing a longtime family home, having a professional crew handle the heavy lifting brings real peace of mind. Our landscaping services team has helped hundreds of families across Apollo Beach, FishHawk, Gibsonton, Riverview, Ruskin, Seffner, Sun City Center, Valrico, and Wimauma get their yards truly ready for transformation.
Quick Reference: Yard Prep Checklist
- Walk the entire yard and note problem areas
- Sort debris into yard waste, junk, recyclables, and hazardous materials
- Clear access points like gates, driveways, and side yards
- Remove organic debris such as leaves, twigs, and loose rocks
- Work in sections rather than all at once
- Mark and protect irrigation lines and delicate plants
- Remove old sod and weeds completely
- Amend soil with compost before planting
- Wait for proper soil moisture before working
- Confirm sunlight conditions for new plantings
- Schedule professional junk removal for bulky items
- Trim overgrown trees, hedges, and palms
- Call in professional help for larger or complex jobs
This checklist covers the essentials, but every yard is different. Real estate agents preparing a home for sale often need a faster turnaround, while contractors finishing a build site may need heavier debris hauling. Whatever your situation, a tailored plan makes the difference.
What Professional Yard Prep Looks Like
When you bring in a team like ours, the process is straightforward and stress-free. We start with a walkthrough, just like the one described earlier, then build a plan around your goals and timeline.
- Upfront, transparent pricing with no surprise fees
- Prompt scheduling that respects your time
- Careful handling of existing landscape features
- Full debris sorting and responsible disposal
- Clean, ready-to-work yard when we’re finished
We’ve built our reputation in Brandon on these values, and you can see what real customers say by checking our reviews page or browsing our project gallery for before-and-after examples. You can also visit us on Google — Wayne & Sons Landscaping & Junk Removal to see feedback from folks right in your neighborhood, or check our profile on Thumbtack for verified reviews.
A Note on Equipment and Safety
Preparing a yard often means using tools like a lawn mower, trimmers, and hauling equipment. If you’re doing any of this yourself, always wear gloves and eye protection. Sharp debris and old nails hide in overgrown areas more often than you’d think.
For anyone unsure about tackling a big cleanup solo, our team is always just a phone call away. Whether it’s a small flower bed refresh or a full property overhaul, we bring the right equipment and experience to get it done safely.
Final Thoughts on Preparing Your Yard
Learning how to prepare yard for landscaping doesn’t have to feel overwhelming. Break it down step by step, avoid these common mistakes, and you’ll set your project up for success from day one. A little planning now saves a lot of frustration later, whether you’re refreshing a small garden bed or transforming an entire property.
If you’d rather skip the heavy lifting and let experienced hands handle it, we’re here to help. Call us today or text us at 813-452-1570 to schedule your yard prep and landscaping consultation. Wayne & Sons Landscaping & Junk Removal has served Brandon and the surrounding communities for over 15 years, and we’d love to help make your yard the best it’s ever looked.
FAQs
Q: How do I clear my yard before landscaping?
A: Start with a full walkthrough to spot problem areas, then sort debris into categories like yard waste, junk, and hazardous materials. Work section by section, and don’t forget to clear access points like gates and driveways so crews can move freely.
Q: Do I need junk removal before landscaping work?
A: In many cases, yes! Old furniture, broken fencing, and renovation debris can slow down a landscaping crew or even block their access. A quick junk removal service beforehand keeps everything moving smoothly and safely.
Q: What yard debris can a junk removal company take?
A: Most junk removal teams, including ours, handle bulky items like old furniture, appliances, fencing, and general clutter. Organic yard waste like leaves and branches is usually handled separately, so it’s worth asking when you schedule your pickup.
Q: Should I remove rocks, roots, and weeds before landscaping?
A: Absolutely. Leftover rocks, roots, and weeds can interfere with grading, planting, and even damage new sod down the road. Clearing these out first gives your landscaping the best possible foundation to thrive.
Q: How do I protect irrigation lines and plants during yard cleanup?
A: Flag your irrigation heads with bright markers and rope off any delicate plants or flower beds before cleanup begins. It’s a simple step that saves you from costly repairs and heartbreak over damaged landscaping.
Our Service Area