Key Takeaways
-
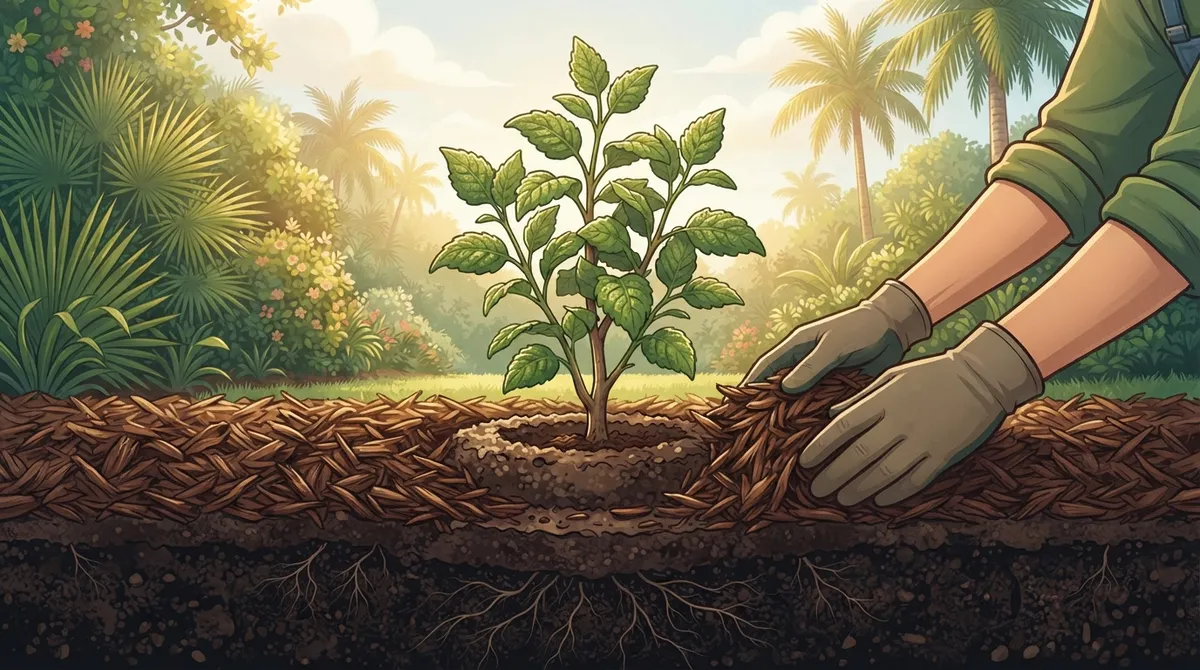
Apply mulch at 2-3 inches depth and keep it 2-3 inches away from tree trunks to prevent rot and pest infestations, avoiding the harmful 'mulch volcano' effect.
-
Remove old mulch and pull existing weeds before installation, as new mulch won't kill established weeds and old material traps moisture that invites fungus and disease.
-
Refresh mulch annually in Florida since heat and heavy rains break it down quickly, maintaining weed control and keeping beds looking maintained year-round.
-
Choose mulch type based on plant needs: pine bark for acid-loving plants (1-2 years), cypress for general beds (2-3 years), or hardwood for trees (1-2 years).
-
Water beds lightly before and after mulch installation to ensure soil isn't bone dry and help settle mulch, preventing it from blowing away during heavy rains.
-
Check drainage before installation to prevent standing water and root rot, and consider professional installation for large areas to ensure even depth and proper edging.
If your flower beds look tired, patchy, or full of weeds, fresh mulch might be exactly what your yard needs. Mulch installation is one of the easiest ways to make your whole property look cared for, and it does a lot more than just look pretty. It locks in moisture, blocks weeds, and protects your plants from Florida’s brutal summer heat. Whether you’re a busy homeowner in Brandon, Florida, a property manager juggling several rentals, or a real estate agent trying to boost curb appeal before a showing, mulch can make a huge difference fast.
The tricky part is doing it right. Bad mulch jobs can actually hurt your plants, invite pests, or wash away after the first big storm. That’s why we put together this friendly, no-nonsense guide. We’ll walk you through 14 practical tips for smart mulch installation, based on what actually works here in the Tampa Bay area. Grab a glass of sweet tea and let’s get your yard looking its best.
Why Mulch Installation Matters So Much in Florida
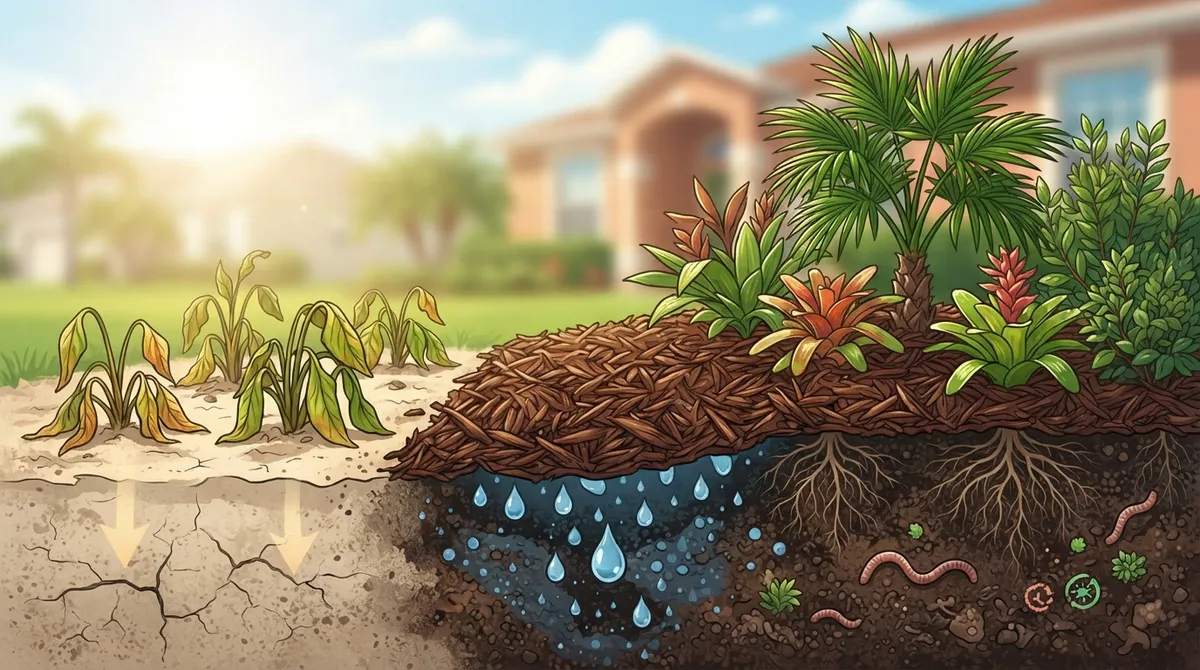
Florida’s heat and heavy summer rains are tough on landscaping. Bare soil dries out fast, weeds pop up overnight, and heavy downpours can wash away topsoil around your plants. Mulch acts like a protective blanket for your garden beds.
A good layer of mulch can cut down watering needs, choke out weeds before they start, and slowly feed your soil as it breaks down. It also gives your landscape a neat, finished look that neighbors and potential buyers notice right away. That’s a big reason mulch installation is one of the most requested services we handle at Wayne & Sons Landscaping & Junk Removal.
14 Mulch Installation Tips for a Healthier, Better-Looking Yard
1. Clear Out Old Mulch and Debris First
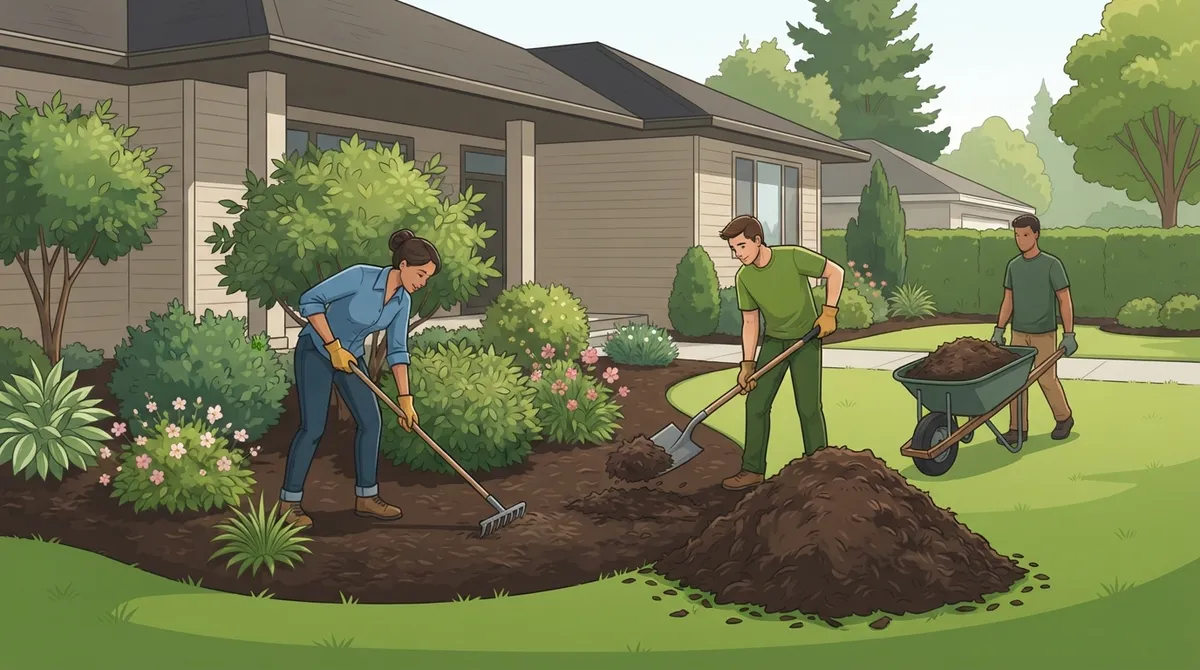
Never just dump new mulch on top of old, moldy mulch. Old material can trap moisture against plant stems and invite fungus. Rake it out, bag it up, or if you have a big pile, consider a junk removal service in Brandon to haul it away for you.
2. Pull Weeds Before You Mulch
Mulch helps prevent new weeds, but it won’t kill the ones already there. Take a few minutes to pull weeds by hand or use a hoe. Skipping this step means you’re just covering a problem instead of solving it.
3. Edge Your Beds for a Clean Look
Sharp, clean edges make a huge visual difference. A crisp edge between your lawn and mulch bed instantly looks more professional, even if the rest of the yard is a work in progress.
4. Choose the Right Mulch Type
Not all mulch is created equal. Here’s a quick breakdown of common options used in Florida landscaping:
| Mulch Type | Best For | Lifespan |
|---|---|---|
| Pine Bark | Acid-loving plants, shrubs | 1-2 years |
| Cypress Mulch | General garden beds | 2-3 years |
| Hardwood Mulch | Trees, mixed beds | 1-2 years |
| Rubber Mulch | Playgrounds, low-maintenance areas | 5-10 years |
| Rock or Stone | Dry, drought-tolerant beds | Long-term/permanent |
5. Get the Depth Right
More mulch is not always better. A depth of two to three inches is the sweet spot for most beds. Piling mulch too high, especially against tree trunks, can cause rot and attract pests.
6. Keep Mulch Away from Trunks and Stems
Never let mulch touch the base of a tree or shrub directly. This creates what experts call a “mulch volcano,” which traps moisture and invites disease. Leave a small gap around each trunk.
7. Water Before and After Installation
Lightly water your beds before laying mulch so the soil underneath isn’t bone dry. After installation, water again to help settle the mulch and prevent it from blowing away.
8. Time It Right with the Season
Spring and early fall are ideal times for mulch installation in the Tampa Bay area. This helps plants get the moisture protection they need before the intense summer heat or the cooler winter months.
9. Don’t Forget Around Palm Trees
Palm trees benefit from mulch too, but they need special care. Keep mulch a few inches away from the trunk base. If you’re unsure how to handle your palms, check out our palm tree trimming services for expert guidance.
10. Match Mulch Color to Your Home’s Style
Mulch comes in different colors, from natural brown to deep red or black. Pick a shade that complements your home’s exterior and existing plants for a cohesive, polished look.
11. Consider Bed Shape and Flow
Curved beds tend to look more natural than sharp, boxy shapes. If you’re redesigning your beds, think about how the mulch will frame your shrubs, flowers, and walkways.
12. Don’t Skip Drainage Checks
Before installing mulch, make sure your beds drain properly. Standing water under mulch can lead to root rot. If you notice pooling water, you may need grading work done first.
13. Refresh Mulch Annually
Mulch breaks down over time and loses its effectiveness. Plan to refresh your beds once a year to keep weeds down and your yard looking sharp. This is a service many landscaping services offer as part of ongoing yard maintenance.
14. Hire Professionals for Large Areas
DIY mulch projects work fine for small beds, but larger properties benefit from professional installation. Pros can source bulk mulch, spread it evenly, and finish the job in a fraction of the time it would take you.
Step-by-Step: How Professional Mulch Installation Works
Curious what happens when you hire a landscaping crew for mulch installation? Here’s the typical process:
- Initial site assessment and measurement of bed areas
- Removal of old mulch and debris
- Weeding and bed cleanup
- Edging to create clean borders
- Soil check for drainage issues
- Delivery of fresh mulch to the property
- Even spreading to the correct depth
- Final cleanup and haul-away of leftover debris
This kind of thorough approach is what separates a quick weekend fix from a lasting, professional-looking result.
Mulch Installation Costs: What Affects the Price
According to industry pricing data, mulch delivery and installation costs can vary widely depending on the size of the area, mulch type, and labor involved. Several factors influence your final cost:
- Total square footage of beds being mulched
- Type and quality of mulch selected
- Whether old mulch removal is needed first
- Accessibility of the property for delivery trucks
- Additional services like edging or weeding
- Local labor rates in your specific area
We keep our pricing transparent and affordable, so you always know what to expect before work begins. No surprise charges, ever.
Who Benefits Most from Professional Mulch Installation
Mulch installation isn’t just for homeowners who love gardening. Lots of different people benefit from this service:
- Real estate agents staging homes for sale who need fast curb appeal upgrades
- Property managers keeping rental units looking sharp and low-maintenance
- Busy homeowners who want a beautiful yard without spending every weekend on it
- Seniors who need help with physical yard work but still want a tidy property
- Small business owners wanting a welcoming, professional storefront
- Contractors finishing up landscaping after construction projects
If any of these sound like you, professional mulch installation could save you time, money, and a whole lot of backache.
Mulch Installation vs. DIY: A Quick Comparison
| Factor | DIY Mulch Installation | Professional Installation |
|---|---|---|
| Time Required | Several hours to a full weekend | Usually completed same day |
| Physical Effort | High, lots of lifting and spreading | Minimal, crew handles everything |
| Bulk Mulch Access | Limited, often bagged mulch only | Bulk delivery available |
| Old Mulch Removal | You handle disposal yourself | Included with haul-away |
| Consistency | Uneven depth is common | Even, professional finish |
Pairing Mulch Installation with Other Landscaping Services
Mulch looks best when paired with a well-maintained landscape. Many customers combine mulch installation with services like shrub care, hedge trimming, or general lawn upkeep. If a recent storm left branches and debris scattered across your yard, our storm debris removal service can clear things out before mulch goes down.
And if you’re tackling a bigger cleanup project, like clearing out an old shed or removing bulky yard waste, we also offer junk hauling services to handle it all in one visit. Combining services saves you time and often money too.
Common Mulch Installation Mistakes to Avoid
Even well-meaning homeowners make these mistakes. Watch out for:
- Piling mulch too high against tree trunks or plant stems
- Using the wrong mulch type for the plants in that bed
- Skipping weed removal before installation
- Ignoring drainage problems that lead to root rot
- Forgetting to refresh mulch annually
Avoiding these simple errors can add years to your landscape’s health and appearance.
Why Choose a Local Brandon Landscaping Team
Local experience matters when it comes to mulch installation. Our crew understands Florida’s sandy soil, heavy rains, and intense sun better than a national chain ever could. We’ve spent over 15 years serving neighborhoods throughout the Tampa Bay area, including Apollo Beach, Riverview, Seffner, Valrico, and Wimauma.
We also know that a well-maintained lawn works hand-in-hand with fresh mulch beds. A quality lawn mower and consistent mowing schedule keep grass edges looking sharp next to your mulched areas, creating that finished, cohesive look everyone wants. You can see examples of our completed projects in our project gallery, and read what real customers have to say in our customer reviews.
Don’t just take our word for it. Check out our reputation on Thumbtack, or visit us on Google — Wayne & Sons Landscaping & Junk Removal to see what our neighbors are saying.
Getting Started with Mulch Installation
Ready to give your yard the fresh, tidy look it deserves? Here’s a simple checklist to prepare for your mulch installation appointment:
- Walk your property and note which beds need attention
- Decide if old mulch needs to be removed first
- Think about mulch color and type preferences
- Check for any drainage or standing water issues
- Ask about bundling services like hedge trimming or debris removal
Having this information ready makes your consultation faster and helps us give you an accurate, transparent estimate right away.
Final Thoughts on Mulch Installation
Fresh mulch does more than dress up your yard. It protects your plants, saves water, and keeps weeds from taking over your weekends. Whether you’re prepping a home for sale, managing rental properties, or just want your yard to look its best, proper mulch installation is one of the smartest investments you can make.
Our team at Wayne & Sons Landscaping & Junk Removal has helped hundreds of families and businesses across Brandon and the surrounding Tampa Bay communities get their landscaping looking sharp again. We handle everything from bed prep to old mulch haul-away, so you don’t have to lift a finger. Ready to transform your yard? Contact us today for a free, no-pressure estimate, or simply call us to get started. Prefer texting? Feel free to text us at 813-452-1570 and we’ll get right back to you.
FAQs
Q: How often should mulch be reinstalled?
A: Most Florida yards need fresh mulch about once a year since our heat and rain break it down fast. Refreshing annually keeps weeds away and your beds looking sharp all year long.
Q: What is the best mulch depth for garden beds?
A: Two to three inches is the sweet spot for most beds. Going deeper can actually smother plant roots and trap too much moisture, so more definitely isn’t always better here.
Q: Can mulch installation help with weed control?
A: Absolutely, a good layer of mulch blocks sunlight from reaching weed seeds, which stops most of them before they even sprout. Just remember to pull existing weeds first for the best results.
Q: Is it better to remove old mulch before adding new mulch?
A: Yes, removing old mulch first prevents mold buildup and lets you check the soil underneath for drainage problems. It also stops your beds from building up too high over time.
Q: How much does professional mulch installation typically cost?
A: Costs vary based on bed size, mulch type, and whether old mulch removal is needed first. We always provide transparent, upfront pricing so there are never any surprises on your bill.
Our Service Area